Centering measurement of optical systems

CIFOS

CIFOS

Product description

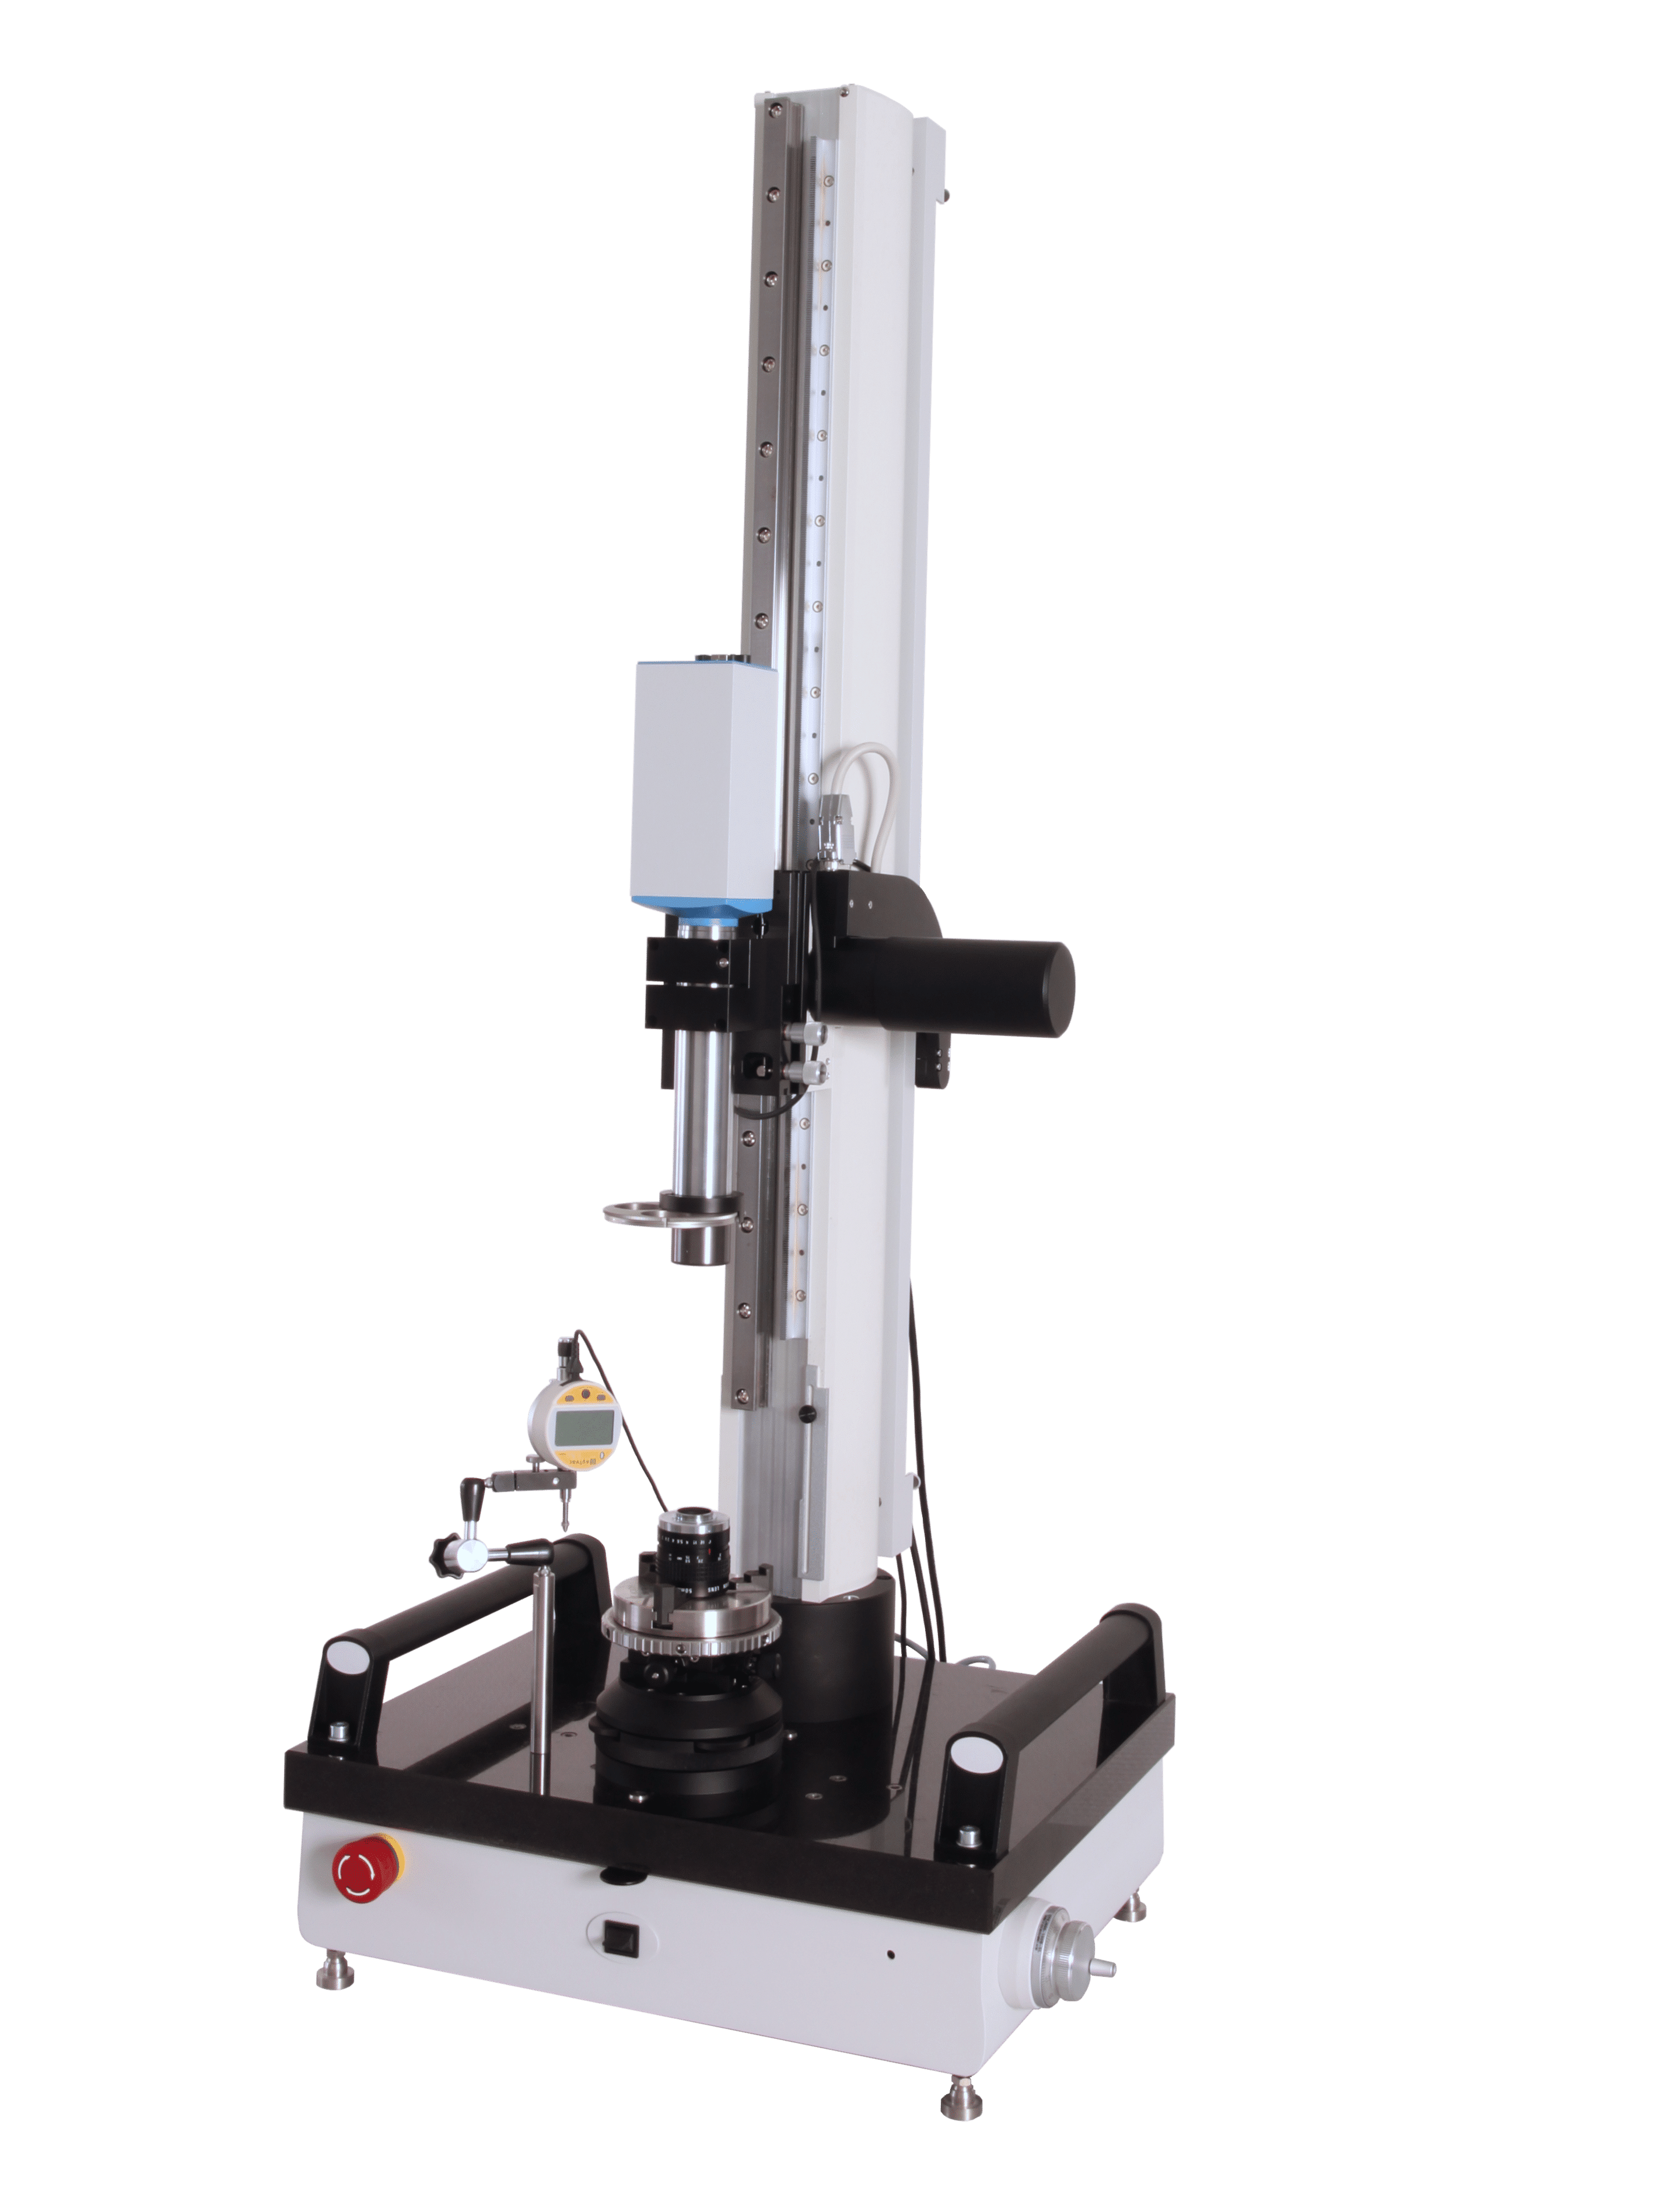
The CIFOS is a measuring device for measuring and checking centering tolerances of optical systems. Contact us and tell us the key points of your lens system to be checked, such as the diameter of the optics, surface radii and coating of the individual surfaces, and we will create a customized measurement solution.

Centering measurement of optical systems

Measuring principle
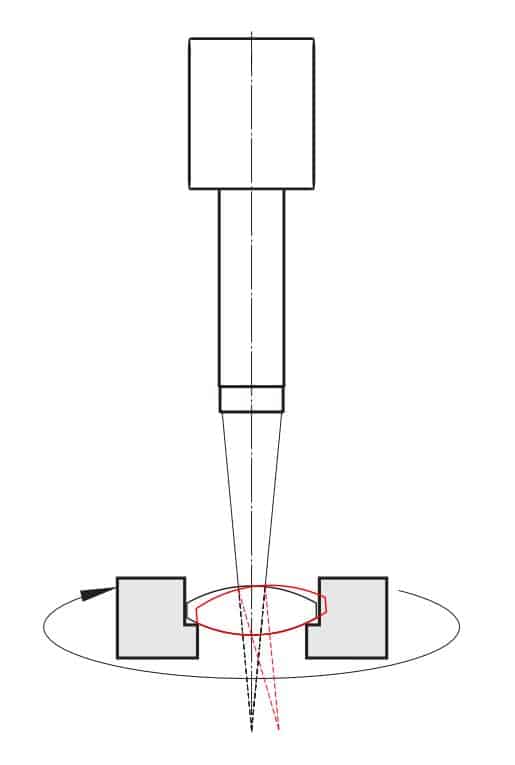
With the aid of a high-precision autocollimator and an attachment optics, the distance between the centers of curvature of the surfaces of an optical system and the axis of rotation of the measuring stage is measured. For this purpose, the autocollimator with attachment optics is moved along the axis of rotation until the focal point of the attachment optics and the image of the center of curvature of the surface to be measured lie on one plane. Then the described circle of the autocollimation image is measured under rotation of the measuring stage, the diameter of the circle is a direct measure for the determination of the surface tilt in relation to the rotation axis.

Referencing of optically non-effective surfaces
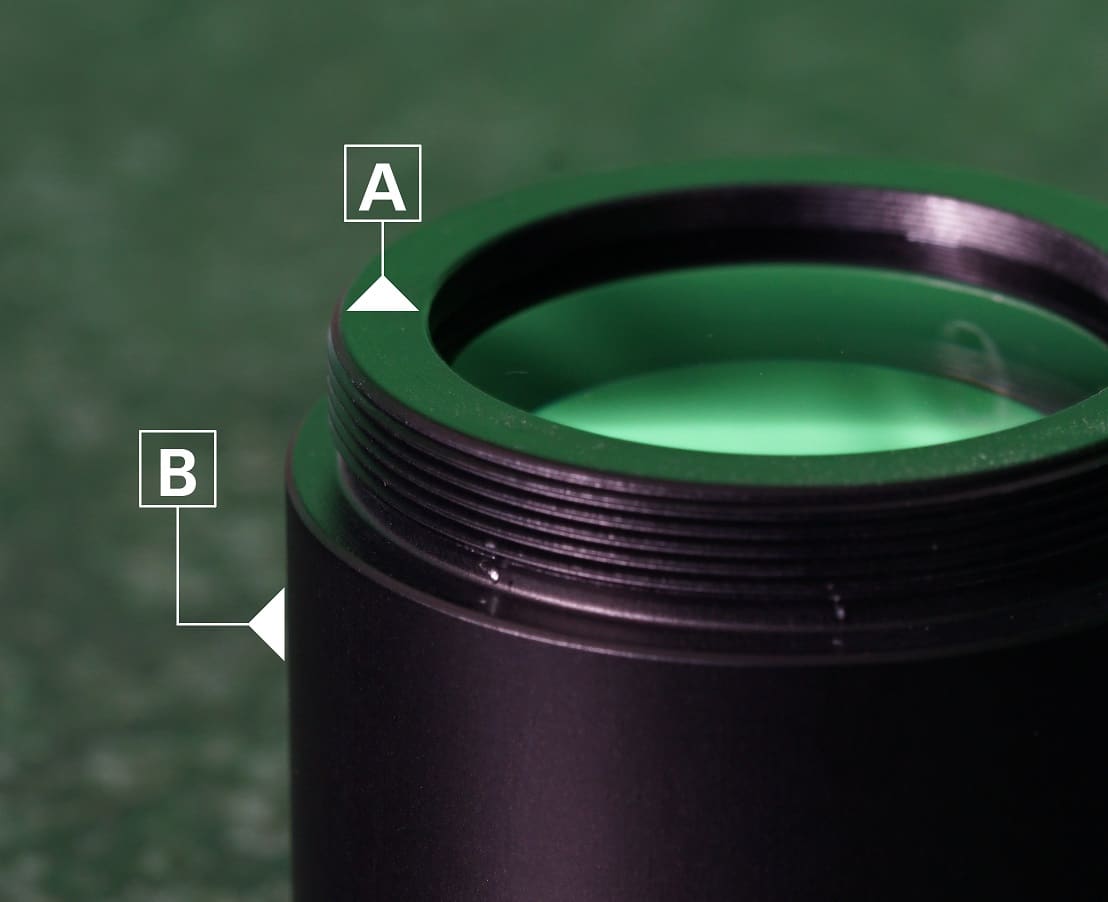
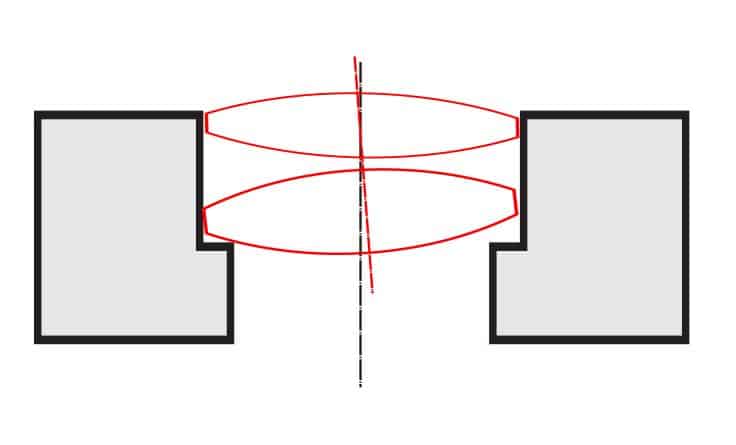
The edge cylinders of lenses or lens mounts can be used for referencing. The measurement of edge surfaces runs parallel to the measurement of surface centering and can be performed either tactilely or contactlessly. In addition to cylindrical surfaces, horizontal contact surfaces, for example, can also be measured and referenced tactilely or without contact.

Measurement of astigmatic surfaces

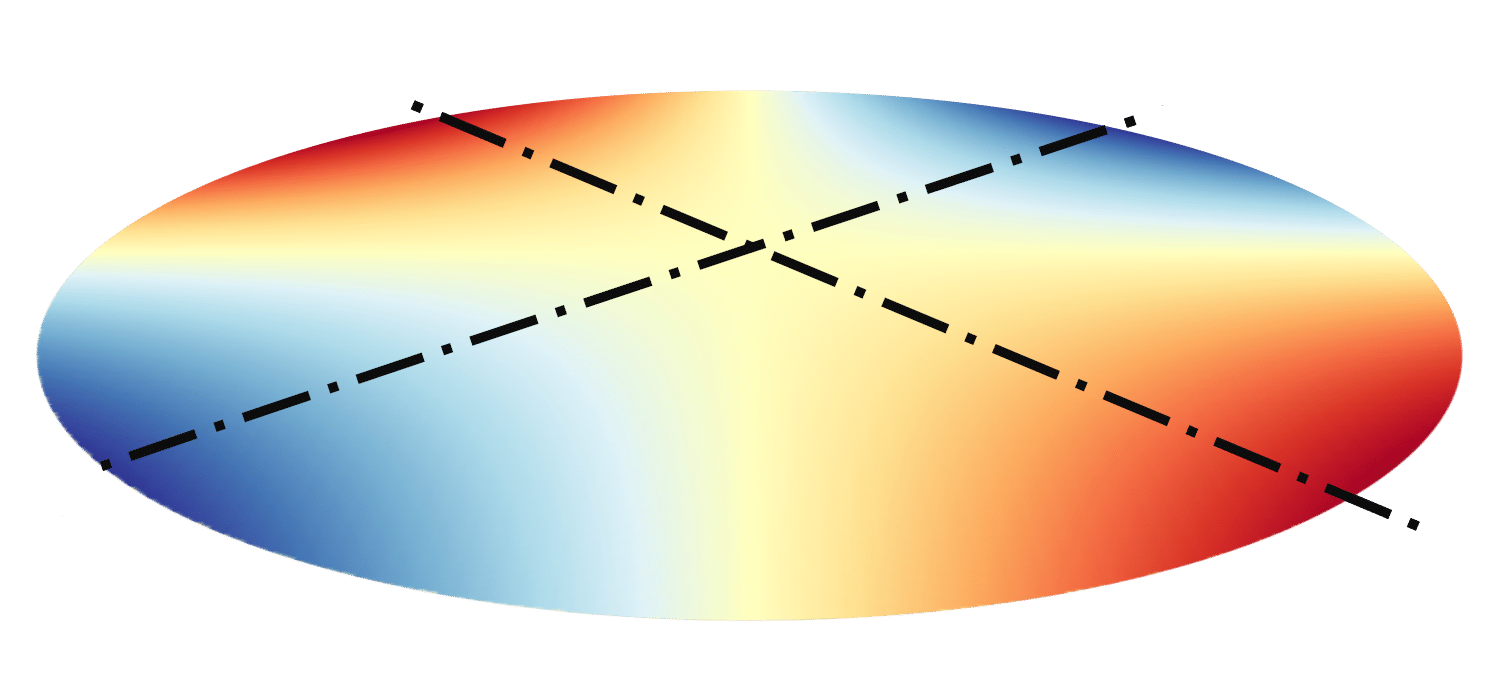
With the aid of subaperture-assisted focusing of the ELCOMAT® focus autocollimator, the respective measuring points of the meridional and sagittal planes of astigmatic surfaces can be probed with high precision and the difference in curvature between the two planes can thus be determined. Likewise, the angle between the meridional and sagittal planes and any landmarks to be referenced can be measured.

Measurement in Transmission

In addition to the measurement of the individual surface tilts relative to each other, a direct measurement of the optical axes of the entire system relative to the respective reference surfaces in transmission can also be performed.